Identity
Agent SSO
Agent SSO connects your workspace to your company's identity provider so agents sign in through it instead of a local password. It is an Enterprise feature and lives under Settings, Agent SSO, with two tabs: SAML 2.0 and SCIM.
Before you start
Three things need to be in place.
- The Enterprise edition. Without it the screen shows a locked veil with a short upgrade notice on the hosted plan, or an "Enterprise, self-hosted" notice on a self-hosted build. Nothing on the page is editable until the entitlement is present.
- A workspace manager or admin account. Saving any part of this screen requires that role.
- A SAML 2.0 identity provider: Okta, Microsoft Entra ID, Google Workspace, OneLogin, or any generic SAML 2.0 provider, plus access to publish the service-provider values on the provider's side.
Connect your identity provider (SAML 2.0)
Work down the SAML 2.0 tab in order.
- Turn on Enable SAML. The status pill reads Inactive until a sign-in URL is filled in, then Connected.
- Pick your identity provider. The choice (Okta, Microsoft Entra ID, Google Workspace, OneLogin, Other) is a label for your own reference; the fields below are the same for every provider.
- Fill in the three values your provider gives you: the Issuer ID (the provider's entity ID or issuer), the Sign-in URL (its SAML endpoint), and the X.509 certificate (paste the PEM block). The "Import metadata (XML)" button is shown but not yet active, so enter these by hand.
- Copy the service-provider values into your provider. They are built from your workspace slug and each has a copy button.
ACS (reply) URL   https://<slug>.open-helpdesk.com/api/auth/saml/callback
Entity ID (SP)    https://<slug>.open-helpdesk.com
SP metadata URL   https://<slug>.open-helpdesk.com/api/auth/saml/metadata
NameID format     urn:oasis:names:tc:SAML:1.1:nameid-format:emailAddress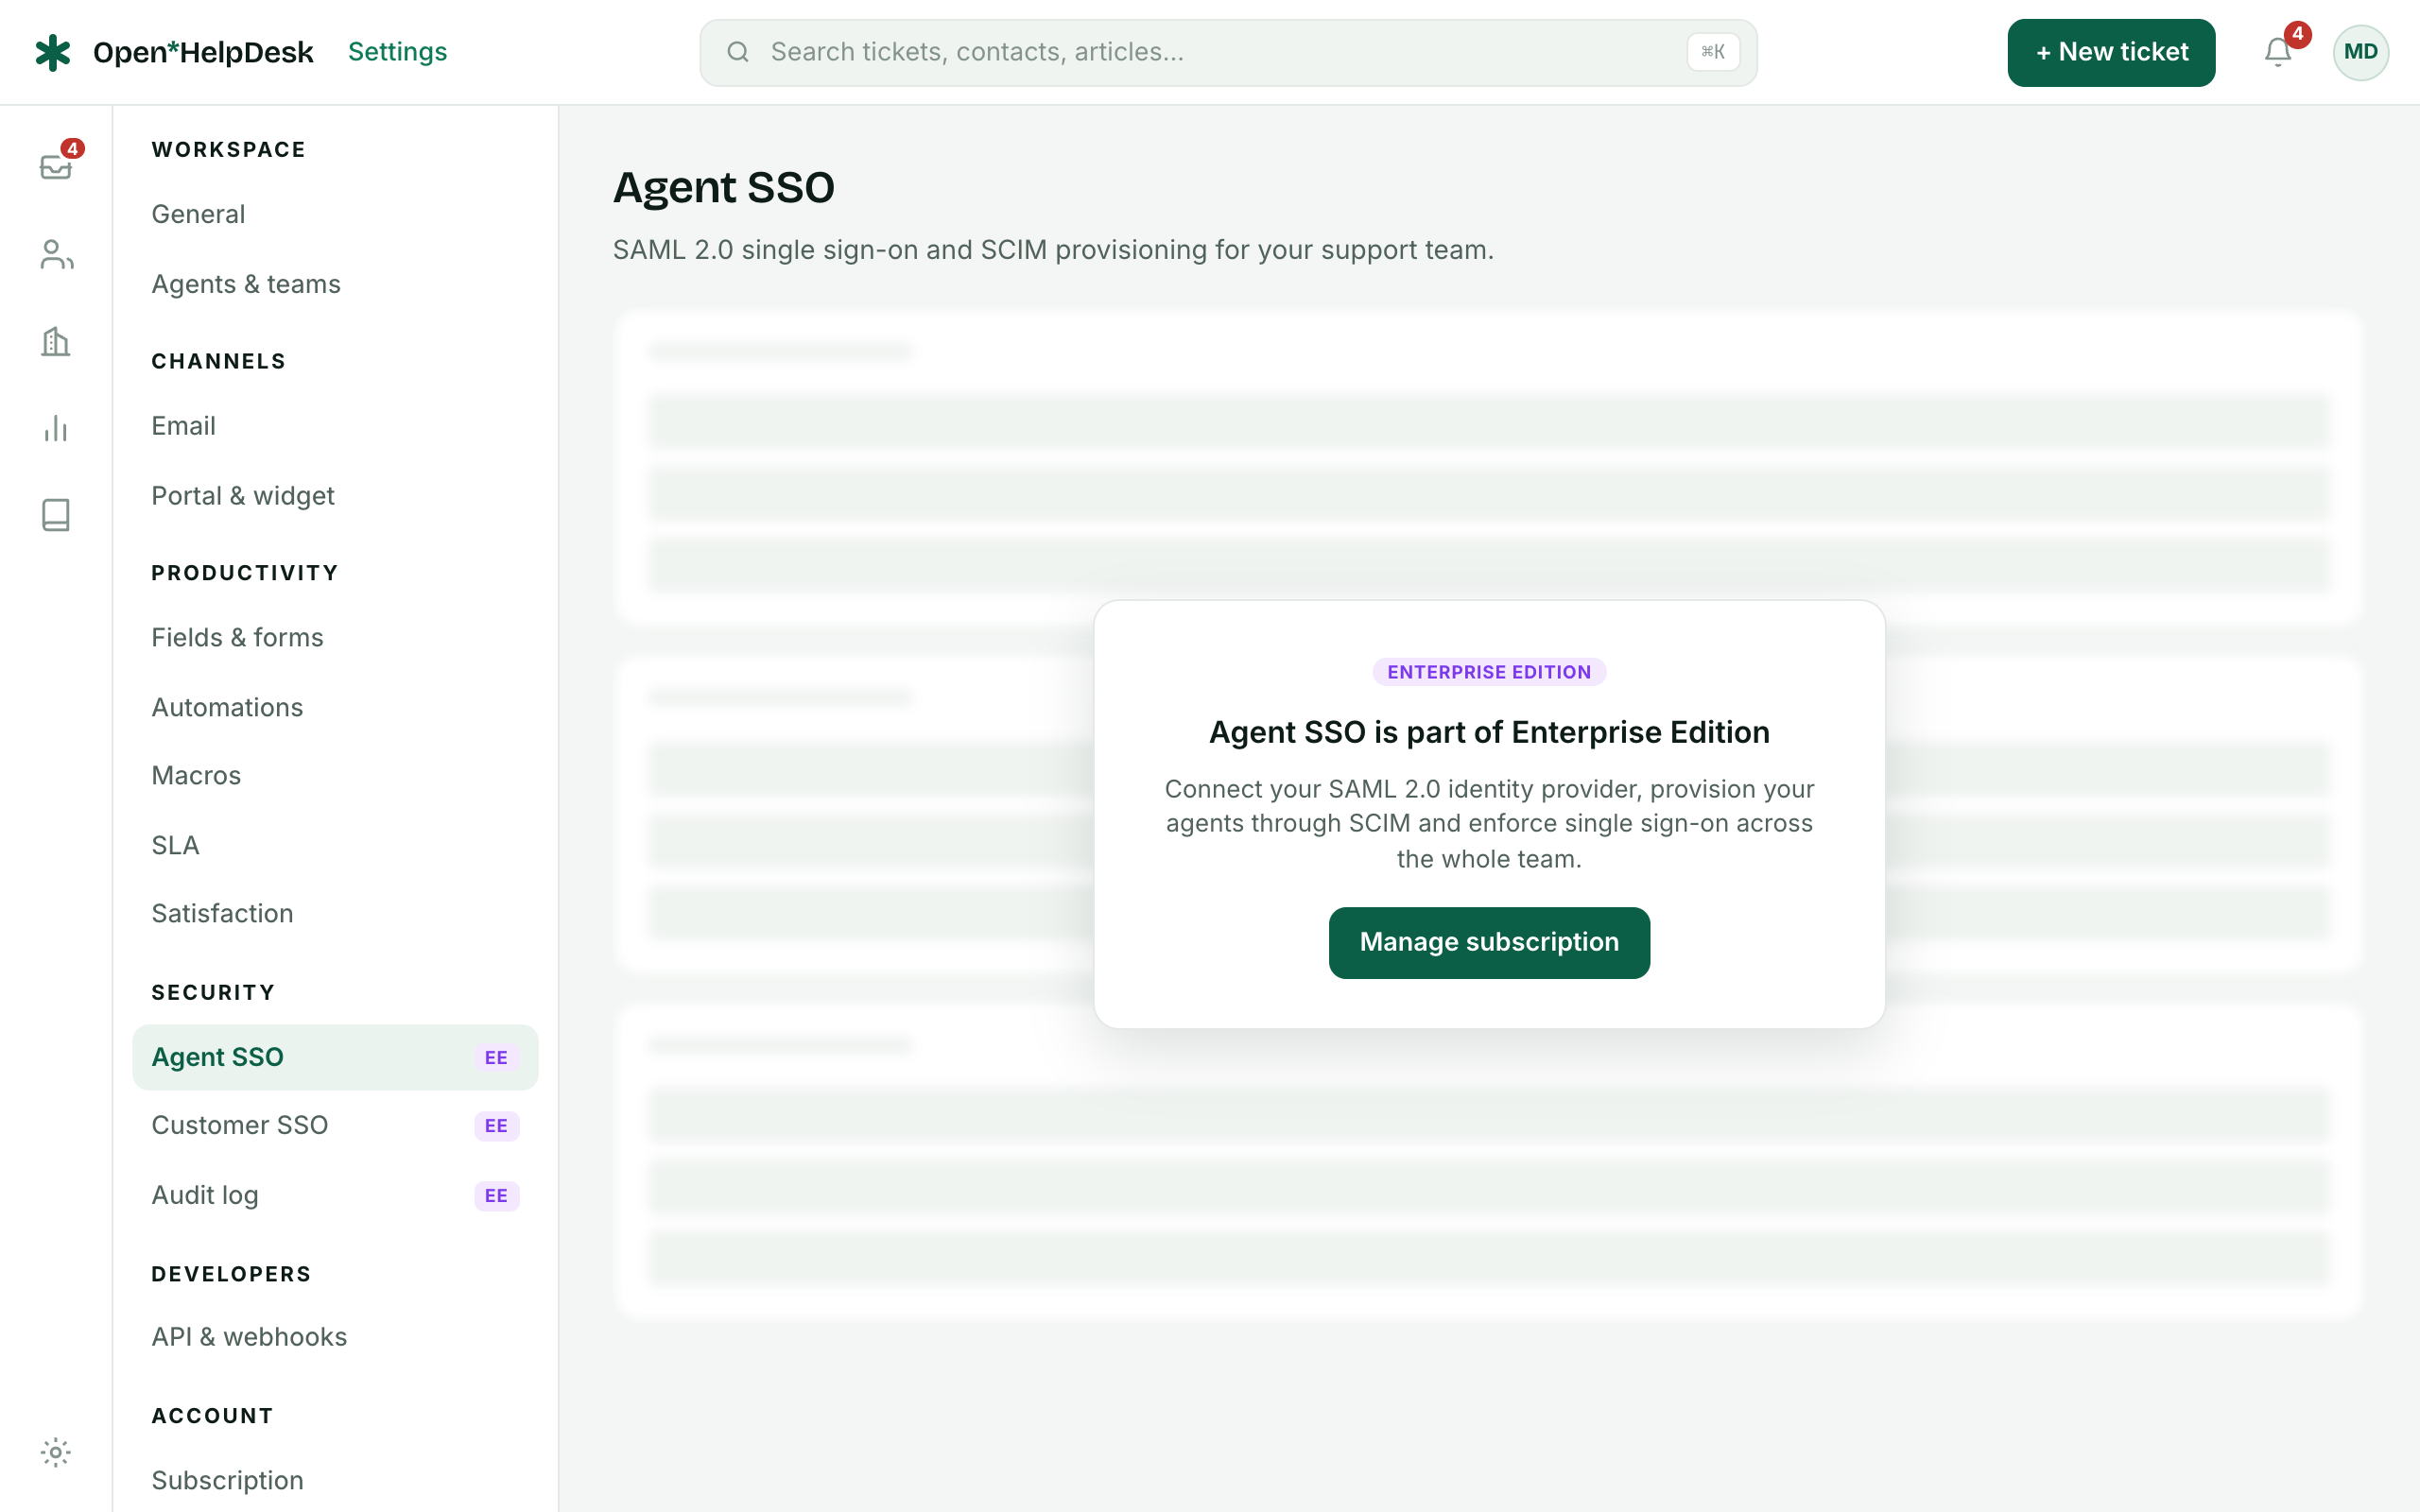
Map attributes
The attribute table lines up each Open HelpDesk field with the SAML attribute that carries it. Email, first name and last name are required and default to user.email, user.firstName and user.lastName. Role and team are optional.
The Drive roles from the identity provider toggle maps provider groups (for example ohd-admins and ohd-agents) onto Open HelpDesk roles. When it is on, roles are governed by the provider rather than edited by hand in the workspace.
Enforcement and sessions
Enforcement has three levels: Optional (agents may still use a password), Enforced for verified domains, and Enforced for everyone. Session duration is a fixed choice of 4, 8, 12 or 24 hours, defaulting to 8.
The Backup account field holds one email address that keeps password sign-in even when SSO is enforced. The Agent domains chips below are shown for reference and are derived from your agents' own email addresses; there is no separate verified-domain list at workspace level.
SCIM provisioning
The SCIM tab turns on directory-driven provisioning. Enable SCIM, then generate the bearer token your provider will use against the base endpoint.
https://<slug>.open-helpdesk.com/api/scim/v2The token is shown in clear once, at the moment you generate it; only a masked hint is kept afterwards, since it is stored hashed. Regenerating the token issues a new one and breaks the current sync until your provider is updated. The group mapping table pairs each provider group with a team and a role (Admin, Agent or Viewer); add or remove rows as needed.